For those who have enjoyed following the work of Robert Fortier and his stock building, here are more pics as he completes the shaping and finishing of the stock.
In the first installment, we stopped at the inletting stage. Now the fun and messy stuff – shaping and sanding.
First step, put on the outline of the shape you want.. really it is a point of reference as you will modify the shape as you shape and sand for that perfect custom fit.
Given that the stock is wood, any type of power sander can be used to quickly remove the bulk of the wood to closer to the pattern you want. You will be making ALOT of dust so some way to contain and extract is a good idea. I work outside and leave the sawdust on the lawn
For me, this is the most fun part of making a stock. Removing all the bulk material to reveal what you want underneath. Let your artistic feelings go… as well as what feels comfy to you. Odds are the stock that fits you will not look like a commercial stock. I pay alot of attention in the grip and trigger area. Good trigger control is critical to accurate fire. Also, in the comb and getting the perfect eye to scope alignment with a comfy cheek weld.
Like shoes, one size does not fit all.
NOTE: the buttstock bottom has an angle to it. This is ideal when using the MPOD so you can make your fine elevation adjustments by simply sliding the stock fore and aft in the rear bag. This eliminates the need for vertical adjustment in the MPOD saving a huge amount of weight, complexity and possible problems. On my stocks, I can change aim from the top to bottom of the target at 1000yds simply by moving the stock fore and aft… Simple!
Final sanding completed. A palm sander can be very handy for this stage. Orbital sander is ok but many can be quite powerful and leave scratches in the surface. This will drive you insane cause they show up when clear/oil finish is applied. Work in ever finer grit starting with 120/150 and moving as light as 320. If painting on a sealed surface, 400 or 600 grit is not too fine.
First coats of tung oil applied. Don’t be surprised if your perfect surface suddenly has all sorts of fine scratches in it. Just let the oil cure and then go over again with fine sandpaper and light pressure to polish out the surface. In cabinetry, the surface is typically tested by wiping with a damp cloth. This will not only bring out the scratches so you can see where extra TLC is needed but also raise the grain which needs to be sanded back before the first coat of oil.
Some modern tung oils will seal the wood so this extra step is not needed…. Check to make sure you have all the needed steps needed to complete as suggested by your finish manufacturer.
Yes, it takes ALOT of work and TLC. This is what costs so much money when you get a custom stock made.
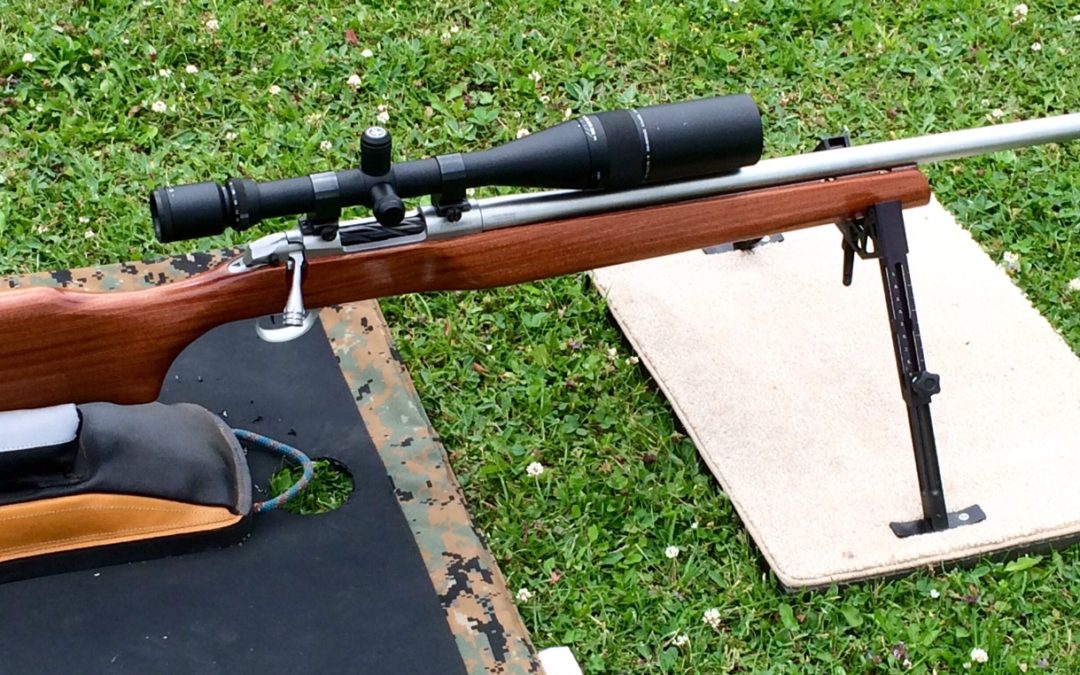
Follow the directions of the finish letting enough time go between coats. Definitely sand/rub between coats or surface blemishes get bigger and worst. Many times, you will almost remove the previous layer of finish when the surface is ready for the next coat. It is a slow build up to get that “hand rubbed oil finish” that you see here. Robert has done a superb job and the surface has that high end furniture sheen. Some finishes are really sensitive to humidity and will cloud/whiten which looks horrid. So follow all product instructions and take your time.
For a much faster method, there are now polyurethanes hand rubbed and sprayed on finishes. I don’t think they look as good but they have the advantage of usually being weather resistant as well. The selection of finishes is huge.. just visit any store that specialises in cabinetry. Just make sure to get a finish that will stand up to rain.
Very nice inletting… a bit more time to make things fit tight will pay dividends in the appearance of the final product.
Some very nice lettering. Even and level lines. Clean finish that is not only smooth but even and just looks “right”.
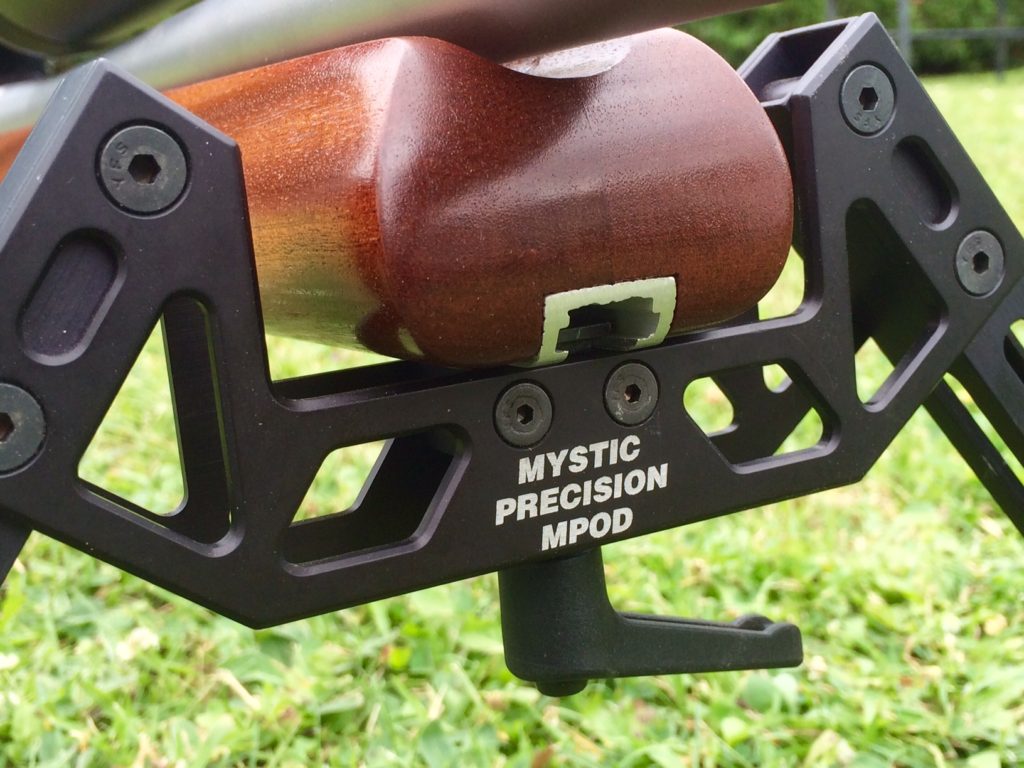
Again, very nice tight inletting. Note that the top of the rail is just a hair above the surface of the stock forend. The MPOD must clamp onto the rail and will dent the stock if the rail is level or below the stock surface. For many factory rails already installed flush, a couple of thin washers solves this issue.
And here is the finished rifle ready to do battle. I will update this article when Robert has had a chance to test and get a load sorted out. I am sure it will shoot just fine. Likely the scope pictured isn’t going to be on there for long.
As usual, great job and I hope you continue to have many podium finishes this season….
Jerry
PS – for those who have their own project rifles going, send me pics and info to [email protected] Always happy to see and share your experiences.


